Understanding Student Data Requirements
The Individual Student Schedule Generator needs specific information about each student to create conflict-free, personalized schedules.
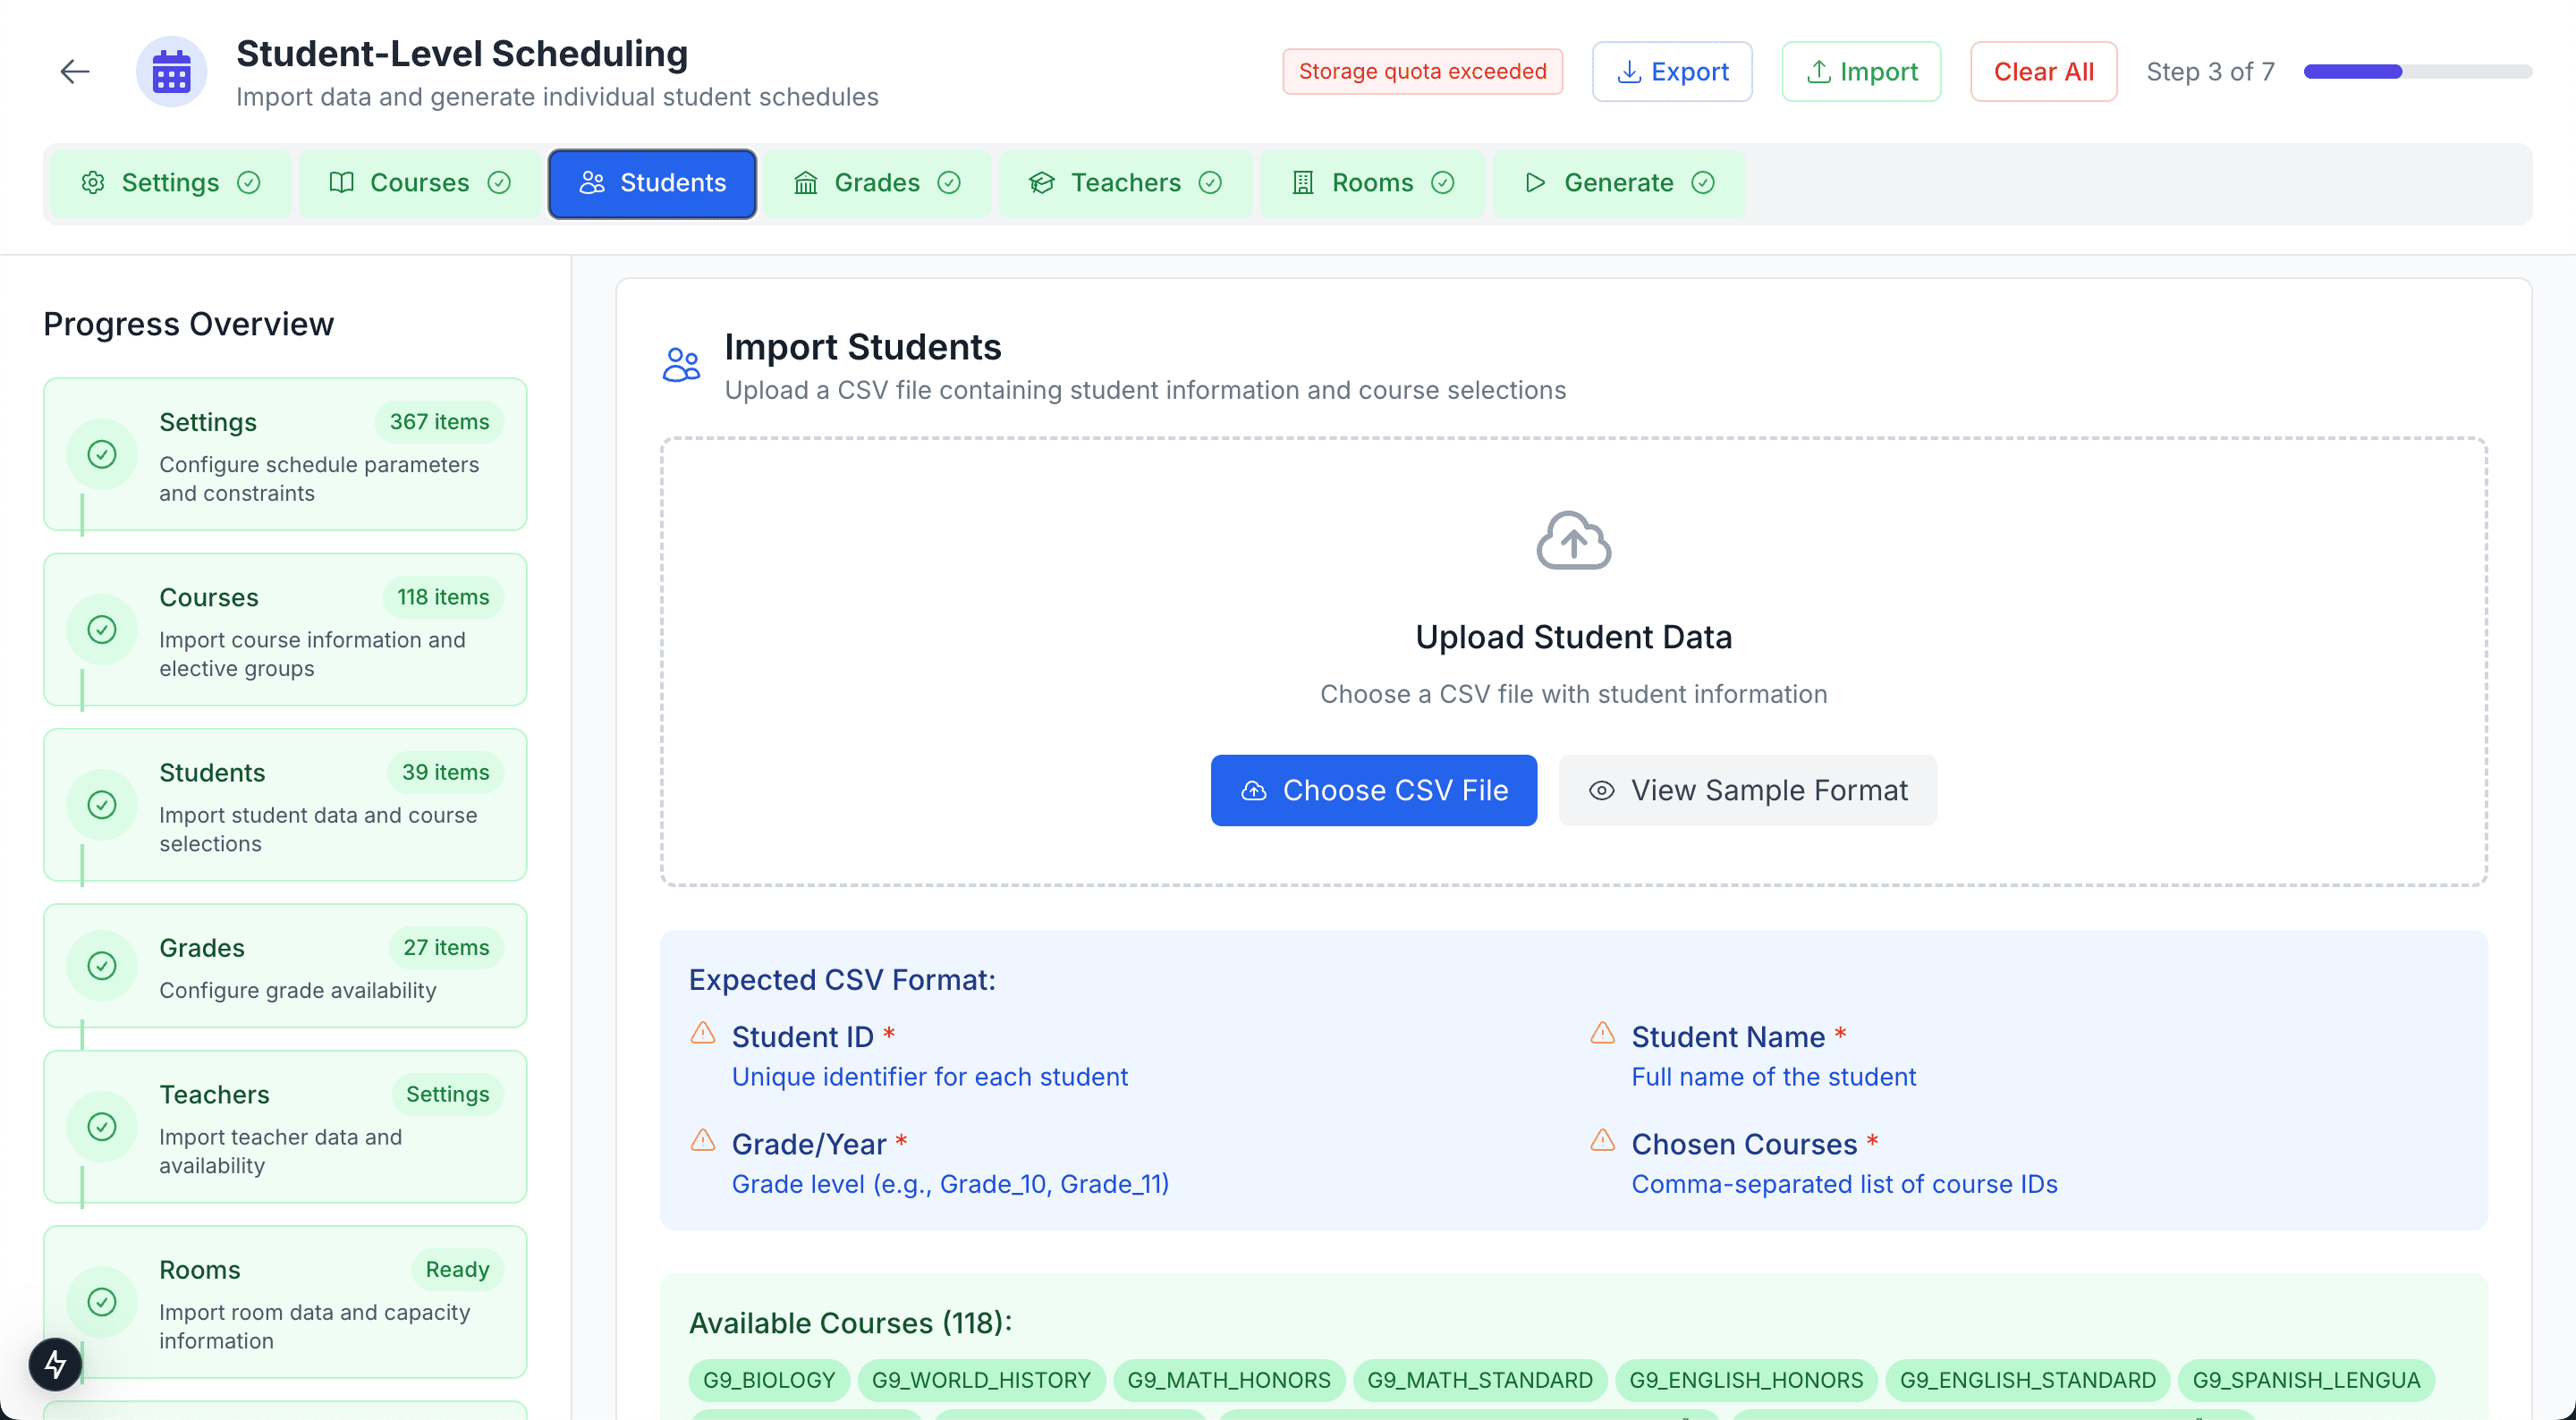
Student management interface with empty state
Getting Started with Students
The Students page allows you to manage students and their course selections. You can add students one at a time or import multiple students using a CSV file.
Key Actions:
- Add Student: Add individual students with their course requests
- Export: Download your current student data
- Add Students (Bulk): Import multiple students from CSV
Adding Students
Individual Student Entry
For smaller schools or when making specific updates:
- Click the "Add Student" button in the top right
- Enter student details (name, ID, grade)
- Select courses from your configured course catalog
- Save the student record
Bulk Import from CSV
For larger student populations, use the CSV import option:
- Click "Add Students" and select the import option
- Upload your CSV file with student data
- Map columns to the required fields
- Review and confirm the import
CSV Structure:
Student_ID,First_Name,Last_Name,Grade,Course_Requests
2024001,Sarah,Johnson,10,"MATH-101,ENG-ADV,BIO-LAB,ART-101"
2024002,Michael,Chen,11,"CALC-101,PHYS-ADV,CHEM-LAB,HIST-MOD"
2024003,Emma,Rodriguez,9,"MATH-BAS,ENG-101,BIO-101,PE-101"
Tip: Include student name and comma-separated course codes in your CSV. The system will validate course codes against your configured course catalog.
Essential Student Information
Student ID: Unique identifier for each student
- Use your institution's existing student ID system
- Ensure IDs are consistent with other school systems
- IDs must be unique—duplicates will be flagged
Full Name: Student's complete name as it should appear on schedules
- Include first name and last name
- Use consistent formatting across all records
Grade Level: Current academic grade or year
- Must match the grade levels defined in your configuration
- Used to validate course enrollment eligibility
Course Requests: Each student's selected courses
- Must match course codes from your configured course catalog
- Include both mandatory and elective courses
- The system validates that students meet any prerequisites
Import Validation
The system validates student data during import:
Automatic Checks:
- Unique Student IDs: No duplicate students allowed
- Valid Course Codes: All courses must exist in your catalog
- Grade Eligibility: Students must be eligible for selected courses
- Course Group Conflicts: No multiple selections from same course group
Data Integrity: Import validation errors must be resolved before proceeding. Review any flagged conflicts and correct the data before continuing.
Managing Course Demand
High-Demand Courses: The system automatically creates multiple sections as needed based on student requests and room capacity.
Low-Demand Courses: Courses with few student selections may need minimum enrollment requirements or alternative arrangements.
Special Considerations
Transfer Students and Mid-Year Changes
New Enrollments: Add individual student records with course selections. The system will fit new students into existing sections when possible.
Course Changes: Update individual student records as needed. Consider the impact on section enrollment numbers.
Data Export
Use the Export button to download your current student data. This is useful for:
- Creating backups before making changes
- Sharing data with other systems
- Reviewing student course requests offline
Next Steps
With student data successfully added and validated, click "Save & Continue" to proceed to the next step in your timetable setup.
Use "Back to Overview" if you need to return to the timetable overview page.
Quick Checklist
- All student records added successfully
- Course requests validated against course catalog
- No validation errors or course group conflicts
- Ready to proceed to next configuration step
Need Help?
If you have questions about managing students or importing data, click "Schedule a Call" in the Tips & Tricks panel to speak with a timetable assistant.